Testing Hundreds Of Used LFP Cells Requires Some Automation

Although Li-ion cells have become a lot cheaper over the years, if you wish to buy hundreds of high-quality ones for that performance go-kart project, you may feel financially pressured into going for the option of stripping down years-old commercial battery packs instead.
While this is a financially sound option, you do have to figure out what the condition is of each cell before you happily stuff them into a new battery pack for said go-kart, as [Within Tolerance] recently did.

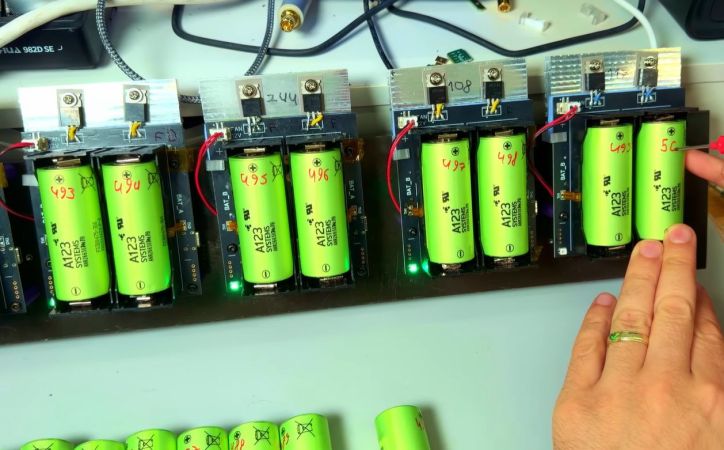
This is something that can be done manually, but for the 768 lithium iron phosphate (LFP) cells that were obtained for this project that’d be quite the tedious task. Hence it was decided to instead spend that time designing a system to automate this process, capable of charging, discharging, measuring and quantifying individual cells.

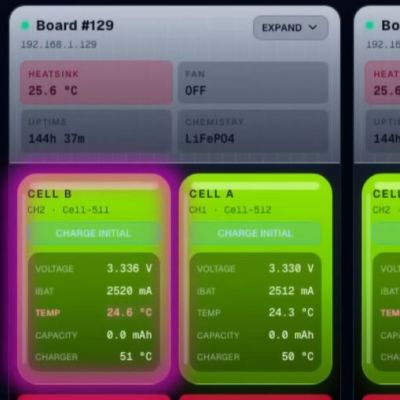
You can find the resulting Cell Goblin battery tester project on GitHub, which entails a custom PCB featuring an ESP32-S2 as the brains and associated software to monitor the process on a connected PC. Fortunately the issues on the PCB that are described in the video are claimed to be fixed in the repository version.

Using five of these dual-cell cell testers it was possible to run through the hundreds of cells with ten cells at a time. An internal resistance meter was also wired into the PC-based software via its UART. As of publication of the video the testing was still in progress, which gives some idea of how long it takes to work through those cells.

Continue reading “Testing Hundreds Of Used LFP Cells Requires Some Automation”

Yellow YAG Produces Powerful Pulses In Les’ Leftover Laser

[Les] likes lasing lasers, and who doesn’t? [Les] likes larger lasers than lots of folks, with his current project being an Nd:YAG (that’s Neodymium:Yttrium Aluminum Garnet) flash pumped laser intended for tattoo removal. Like most of its ilk, the YAG crystal at the heart of that device is a rosy purple color, so when [Les] spotted a Yellow YAG with different doping promising powerful pulses, he purchased it promptly.

Specifically, the retailer was claiming a 30-50% efficiency increase for this yellow rod, thanks to cerium doping. It’s still considered an Nd:YAG, though you can label it as an Nd:Ce:YAG for clarity. The efficiency gain comes from the cerium atom taking unused energy from the flashbulb pulse — which is much broader-wavelength than the thin absorption line of the Nd ions in the rod — and giving that energy to the Nd atoms that do the lasing via fluorescence. He doesn’t try it, but reports on a paper showing these crystals can actually lase with reasonable efficiency from sunlight alone, which we’d love to see. Send us a tip if you try.

His original Nd:YAG rod produced 72.8 mJ pulses, while in the same setup with the yellow laser is peaking at 153 mJ, more than double the original output. That’s even better than the 30-50% [Les] expected, but he reckons it is because the old YAG is, well, old. The coatings break down over time, and UV light from the flashbulbs degrades the crystals too. That’s another benefit of tossing cerium in there, as apparently it acts as sunscreen for your laser rod. It lasts longer and works better, making it a no-brainer of an upgrade.

We’ve seen [Les]’s laser-based hacking before, like this  diode-laser PSU and we’re always glad to take a look with our remaining eye. We also featured his tattoo removal laser back when he started working on it, along with less-lasery projects like his crystal-growing rig.

Continue reading “Yellow YAG Produces Powerful Pulses In Les’ Leftover Laser”

A Versatile PDP-11/70 Emulator

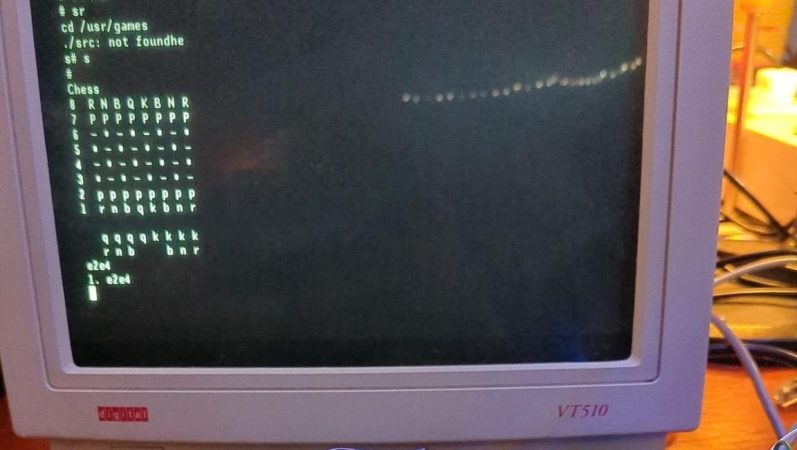
The PDP-11 was a 16-bit minicomputer that was very influential in its time. That’s what inspired [vanheusden] to start working on an emulator for the machine in 2018, which has since been developed to run on a wide variety of platforms. 

The emulator, named “Kek,” is quite capable, able to run Unix 5 up to an d including Unix 7 in multi-user mode, along with BSD 2.11 Unix depending on what it’s running on. It also supports classic hardware like RK05, RL02, RP06, and RP07 disks, the KW11-L line time clock, and the DC-11 serial line interface. The emulator can also run on a wide variety of platforms. It’s possible to run it on a standard Linux machine if so desired, or you can run it on BSD, MacOS, or Windows if so desired. Beyond that, you can even get it going on a Teensy 4.1 or an ESP32 if that’s more your jam. Modern microcontrollers are just that powerful that emulating a PDP-11/70 just isn’t a challenge anymore.

We love seeing old machines emulated and brought back to life. It’s funny to see how often it’s done on microcontrollers instead of full-scale PCs these days, too. Video after the break.

Continue reading “A Versatile PDP-11/70 Emulator”

Sketching Temporary Circuits With A Light-Triggered Floquet Topological Insulator

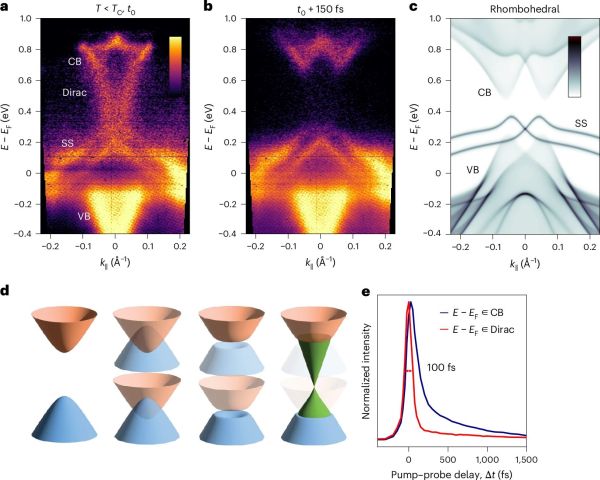
In semiconductor technology, a base material like silicon is permanently modified to induce certain electrical behavior. In comparison a topological insulator material could be used to create temporary circuits using something like light exposure. An example of this is the Floquet topological state, which has long been theorized, but is now claimed to have been demonstrated in SnTe semiconductor material, per a paper by [F. Chassot] et al. in Nature Physics.

The concept of topological insulators was first proposed in 1985, but proving their existence was hard. Recently photonic Floquet topological insulators (PFTIs) have gained interest, with experiments by [Qian Ma] et al. in 2025 as well as other teams confirming aspects of the theory.

This recent publication by [Chassot] et al. would thus confirm that optical control of topological insulators is thus possible. At the core of this effect is the band inversion that results from the light pulses, with the change in conduction being very brief, essentially for as long as the femtosecond pulses were maintained.

Although still very much in the fundamental research phase, the research on these electronic topological insulators offers an interesting look at potential new technologies, much like the field of photonic topological insulators does for photonics.

Energizing A Vacuum Tube Flip-Flop Module Of The IBM 604

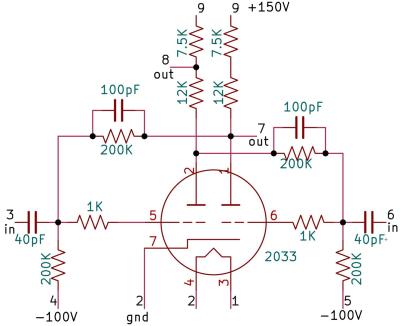
Reverse-engineered schematic of the IBM 604's TR-3 module. (Credit: Ken Shirriff)
Reverse-engineered schematic of the IBM 604’s TR-3 module. (Credit: Ken Shirriff)

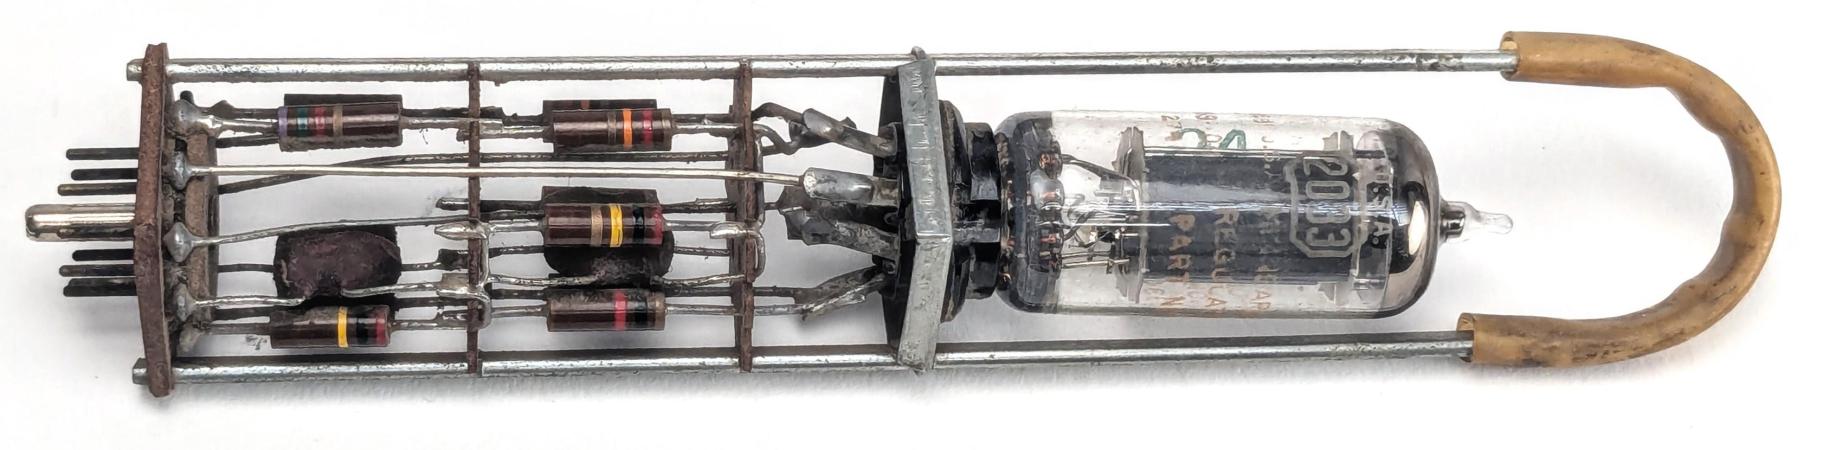
Taking a break from ogling microscopic features in Intel’s semiconductor processors, [Ken Shirriff] is back to instead poking at decidedly macroscopic pluggable modules from the 1948 IBM 604 Electronic Calculator. This time around it’s one of the so-called trigger modules in the form of the TR-3, which uses a flip-flop circuit to implement the timing signals and pulses that made the 604 work.

This differs from the thyratron module that we covered previously. A thyratron is a high current switch and rectifier, which is useful more for the periphery of the computer system. These TR-3s on the other hand were used to implement the basic logic circuits, even if a flip-flop by itself seems rather boring, being just a circuit that toggles between two states.

In this TR-3 module we find a 2033 dual triode design which thus increases density by having the two inverters of the flip-flop in the same tube. The rest of the module is taken up by the requisite capacitors and resistors that complete the circuit. After wiring up this original module, [Ken] was able to make it trigger somewhat reliably, requiring a stable input trigger.

Notable is that in the IBM 650 from 1954 this flip-flop circuit was abandoned in favor of one based on diode logic, presumably to use more reliable Boolean logic instead of the much fussier analog interactions. Naturally, in the first transistorized computers the use of diode-transistor logic (DTL) was exceedingly common, so this makes a lot of sense.

Continue reading “Energizing A Vacuum Tube Flip-Flop Module Of The IBM 604”

Circuit Bending, But Make It MIDI

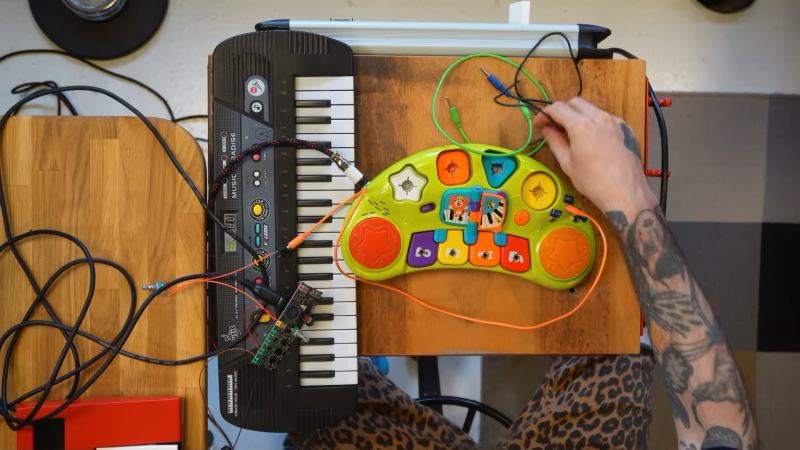
Circuit bending is a chaotic art. At its simplest, it can just involve making connections between random points on a circuit board to create weird sounds in musical hardware. Or, you can complicate things, get really specific with your hookups, and twist them with various sorts of modulation. [Simon the Magpie] has been working on something closer to the latter category, with his neat project to add MIDI to the circuit bending world. 

The concept is straightforward enough. [Simon] has created a device that you place in line with your circuit bent connections, particularly those that create pitch bends with pots thanks to their variable resistance. You can then play your MIDI keyboard, and the device will vary the resistance in the circuit and bend the pitch at your command. [Simon] simply calls the device MIDI TO RESISTANCE, because that’s… precisely what it does, with the aid of a digital potentiometer. He then demonstrates it doing its thing on pitchbent toys, and it sounds pretty radical in use.

If you’re trying to make your circuit bent toys and instruments more musical, this build should serve as a great inspiration. We’ve featured other oddball musical hacks in a similarly creative vein before, too—such as using mixers as a synthesizer in their own right. Have fun out there.

Continue reading “Circuit Bending, But Make It MIDI”

Child-Friendly Music Player Uses RFID

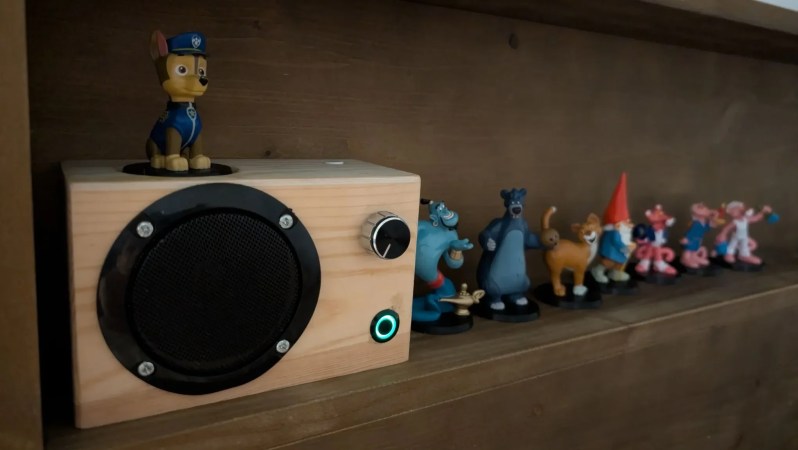
[David] has a young child who is clever enough to use a computer to play music, but he doesn’t quite want to hand over the mouse just yet. Thus, he set about building an electronic music player that could be operated in an altogether simpler fashion. 

The build is based around an Arduino Nano — its job is to read RFID tags via an RC522 reader, with the tags themselves embedded in a series of small dolls belonging to [David]’s daughter. Upon reading the tag, the Arduino Nano chats over serial with a DFPlayer Mini module, which reads a playlist of MP3 files off of an SD card and plays them over a small 4 ohm speaker that [David] had laying around. It’s a simple build, with the components all neatly wrapped up in a handsome wooden case with a volume control and a skip button for if any one song becomes too annoying for a repeat listen.

We’ve featured other builds in this vein before, too. There’s something satisfying about a music player with such a simple interface—no delicate media to fiddle with, just pop the toy on top and get the playlist you were looking for. If you’re creating your own little musical builds at home, we’d love to see them on the tipsline.